Discovery
Discovery scans your network for compatible industrial devices and presents them for review. Instead of manually entering connection settings for every device, you let the agent find them.
How It Works
The agent probes common ports and addresses for each protocol and tries to identify what's there. For each device it finds, it reports:
- Protocol — what type of device it is
- Name — a generated name based on the device's identity
- Connection — the host, port, endpoint URL, or serial path
- Confidence — how certain the agent is (High / Medium / Low)
High-confidence results are devices that responded clearly to a protocol handshake. Low-confidence results may need manual verification before adding.
Running a Scan
Default Scan
The default scan probes all supported protocols across common network ranges. To run one:
- Go to Discovery and click Discover Endpoints.
- In the drawer, select Default scan.
- Optionally pick a specific protocol if you only want to scan for one type.
- Toggle Validate on to connect to each candidate and confirm it's reachable (slower, but higher confidence).
- Click Run Discovery.
Results appear as they come in. You can stop the scan at any time.
Rule-Based Scan
A discovery rule gives you control over the target address range, ports, and protocol-specific parameters. Rules can also run automatically on a schedule.
Switch to Run discovery rule in the drawer, select a rule from the dropdown, and click Run Rule Scan.
Adding Discovered Devices
When the scan finishes, review the results and click Add on any device you want to onboard. The agent creates an endpoint for it using the discovered connection settings.
Devices already added as endpoints show a check mark instead of an Add button.
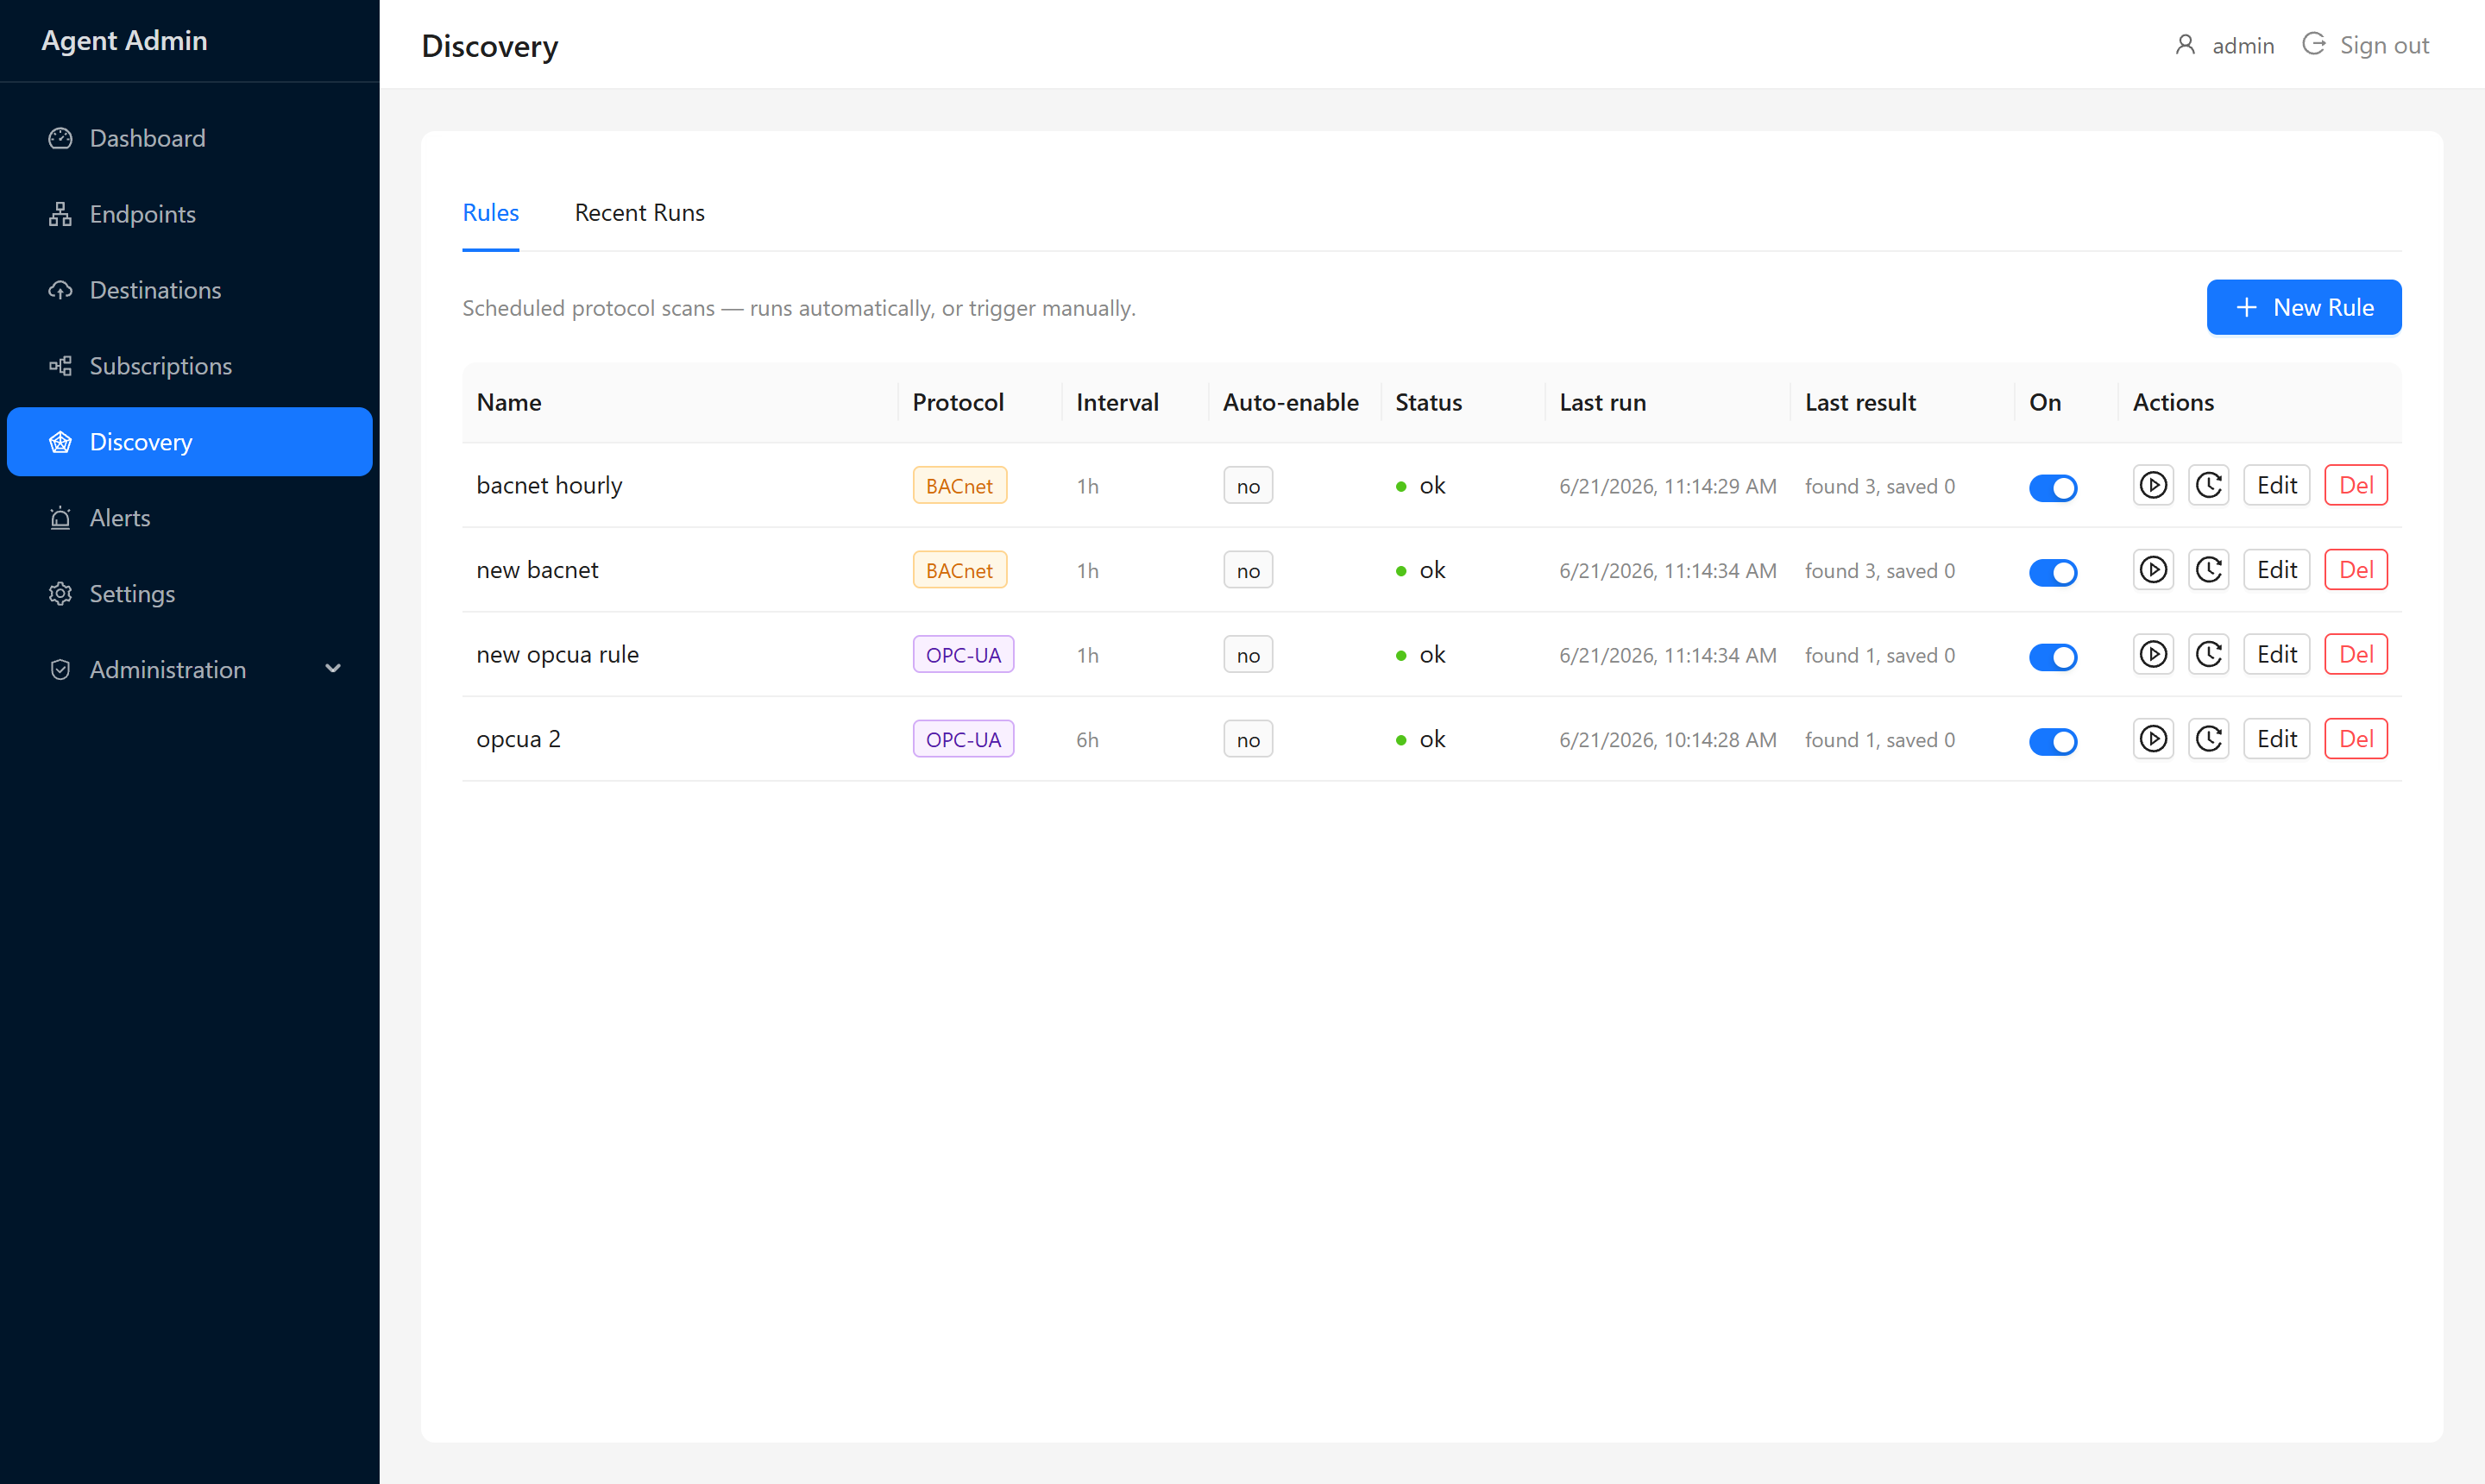
Discovery Rules
Discovery rules let you target specific network ranges or devices rather than doing a broad sweep.
Creating a Rule
- On the Discovery page, open the Rules tab and click Add Rule.
- Give it a name.
- Select the Protocol to scan for.
- Set the Scan Interval — how often the rule runs automatically (e.g. every hour, every 6 hours).
- Configure the target address range or parameters for that protocol.
- Toggle Auto-enable if you want newly discovered devices to be added as enabled endpoints automatically.
- Save the rule.
Running a Rule Manually
Click the Run button on any rule in the Rules tab to trigger an immediate scan. Results are recorded in the Recent Runs tab.
Recent Runs
The Recent Runs tab shows a history of every time a rule executed — when it ran, how many devices it found, and whether it succeeded. Click a run to see the full device list from that scan.
Tips
- Start with a targeted rule (specific IP range) rather than a full sweep — it's faster and generates fewer false positives.
- If a BACnet or OPC-UA device shows up with Low confidence, check its configuration manually before adding it.
- Use the Validate option in the default scan when you have time to spare — it eliminates most false positives.
Related Docs
- Endpoints — manage the devices you've added